In this tutorial, we’ll walk you through the process of deploying your own Algo VPN server anonymously. Algo VPN is an open-source solution designed by Trail of Bits to simplify the setup of a personal WireGuard and IPsec VPN. Algo VPN places a strong emphasis on security and simplicity, making it an excellent choice for privacy-conscious users.
The following are some of the key features of Algo VPN:
- Blocks ads with a local DNS resolver
- Sets up limited SSH users for tunneling traffic
- It only supports IKEv2 with strong crypto (AES-GCM, SHA2, and P-256)
The anti-features include:
- It does not support old cipher or protocols such as L2TP, IKEv1, and RSA
- It does not install Tor nor
- It does not claim to protect you from the FSB, MSS or DGSE.
Deploy the Algo Server
The process of deploying the Algo server varies significantly depending on your operating system. In this guide, we’ll show you how can deploy the server on various operating systems.
Step 1: Update Your Package repositories and Install Dependencies
Algo requires Python 3.10 or higher and at least one package for it to function. Python 3 is included in the optional Command Line Developer Tools package on macOS Catalina (10.15) and higher. From your command line terminal, run:
python3 -m pip install --user --upgrade virtualenv
For macOS versions besides from Catalina, you can check out Deploy from macOS for details on installing Python 3.
Linux: Python 3 comes pre-installed on latest releases of Debian, Fedora, and Ubuntu. To install Python 3.10 if your current version is less than 3.10, you’ll need to use pyenv. Ensure that your system is up to date and install any necessary packages:
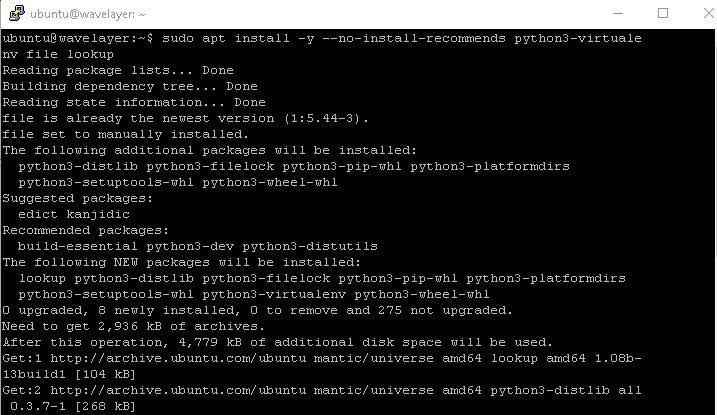
Ubuntu and Debian:
sudo apt install -y --no-install-recommends python3-virtualenv file lookup
For Fedora, you can use the following command:
sudo dnf install -y python3-virtualenv
Windows: To install and run Algo, make sure you create a clone of Ubuntu running under Windows using the Windows Subsystem for Linux (WSL). For further details, you can check deployment on Windows.
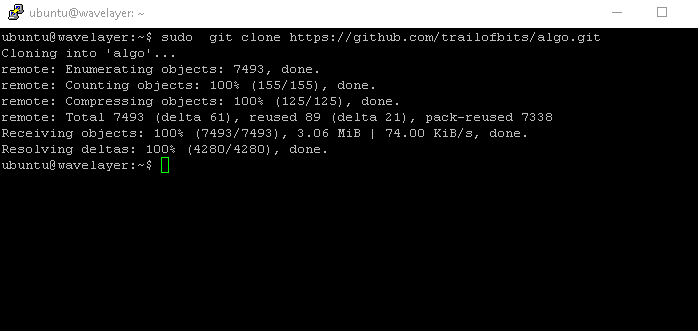
After installing the required dependencies and updating your system, create a git clone from GitHub with the following command:
git clone https://github.com/trailofbits/algo.git
Step 2: Prepare the Installation Environment
First, change to the Algo directory:
cd algo
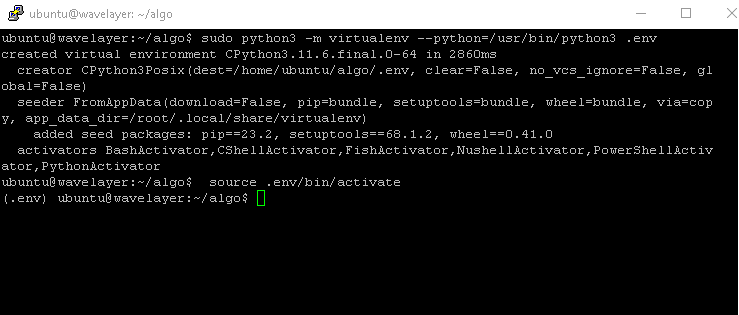
Next, create a Python virtual environment:
python3 -m virtualenv --python=/usr/bin/python3 .env
Activate the virtual environment:
source .env/bin/activate
Finish by Installing the following additional dependencies:
python3 -m pip install -U pip
python3 -m pip install -r requirements.txt
After that, Open the file config.cfg using a text editor. Define the users you want to create in the user’s list.
nano config.cfg
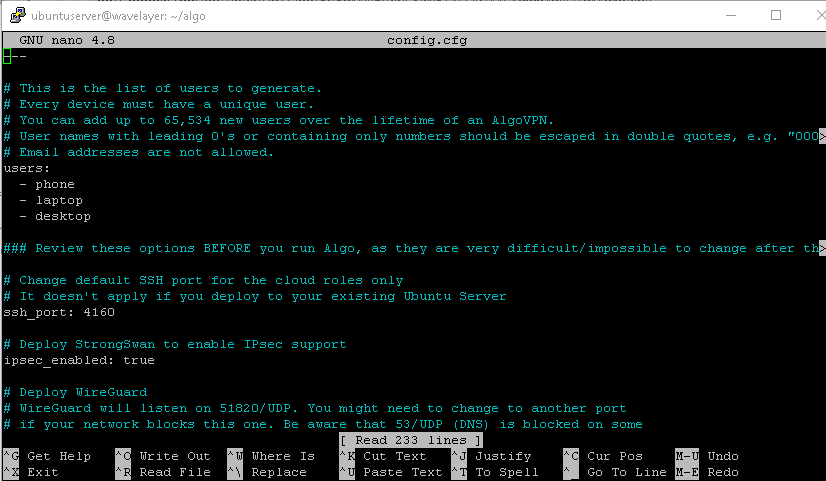
Your configuration file will include three users by default: desktop, laptop, and phone. To meet your needs, you can adjust this to match your users, as shown above.
For additional protection, you can use the unattended_reboot option by setting the value to true.

There are also tons of customization options in the config file that you can configure, so it’s worth reviewing them before you move on to deployment. Once you’re done, save the configuration and exit.
Step 3: Run Algo VPN Setup
Navigate to your Algo VPN root directory and execute the Algo setup script:
./algo

The installer will prompt you to select a cloud provider, with various popular options available, such as DigitalOcean, Amazon Lightsail, Amazon EC2 and Microsoft Azure. Select your provider and press Enter.
Now, configure your Algo server by specifying the Y/N flags.
You can now also choose if you want to improve your privacy and block ads using your own personal VPN. In addition, you can set up ad blocking independently on each device or block advertisements at the VPN level by replying with y option.
You can also specify if you want each user to have their account for SSH tunneling.

Your personal VPN will now request an IP address. Enter your VPS IP address, or use localhost for local installation. Next, enter your virtual private server’s public IP address or domain name. This is used to validate the certificate.
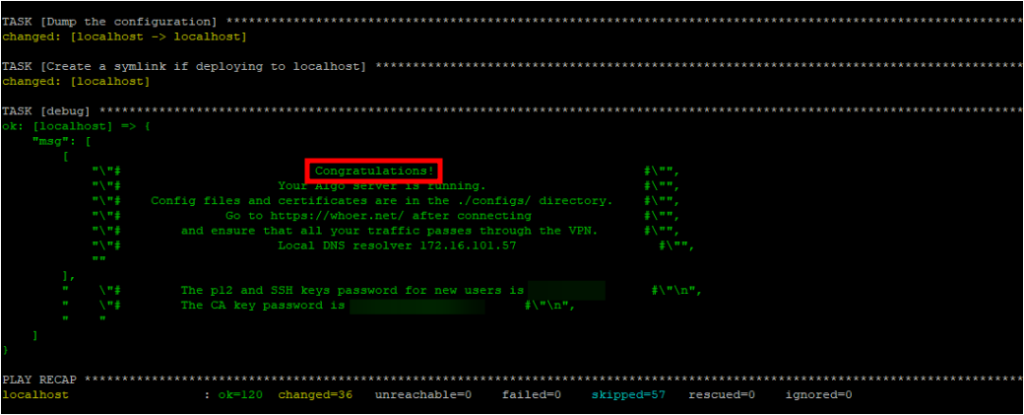
At this point, you can wait for the Algo VPN setup to finish. Depending on the specifications of your virtual machine (VM) and other circumstances, this may take some time. After it’s finished, a “congratulations” message with configuration options will pop as shown below.
Conclusion
That’s it! The message above concludes that the server deployment process has been completed successfully. Take into account the CA key and p12 (user certificate) password because they will only be displayed this time. You can now go overhead and start setting up clients to connect to your Algo VPN server. You can check out how it is done from here.