In today’s digital age, everyone’s privacy is in danger. Online activities have become more prevalent than ever, with data breaches, tracking, and surveillance posing significant challenges.
Protecting your internet privacy is not only a matter of personal security but also a fundamental right. To address these concerns, an anonymous Virtual Private Network (VPN) is a proactive step towards reclaiming control over your online presence.
By utilizing the power of open-source VPNs like Algo and leveraging the anonymity of Bitcoin for payment, you can establish an iron dome of privacy over your internet usage. In this blog, we will walk through the process of configuring an anonymous VPN using Algo and Bitcoin on Ubuntu 22.04.
Requirements
- A server running Ubuntu 22.04
- Basic understanding of Linux Commands.
- Internet access from the server.
- Bitcoins for anonymous payment.
Access your server with either console or ssh and follow the following steps.
STEP 1: Setting Up the Server
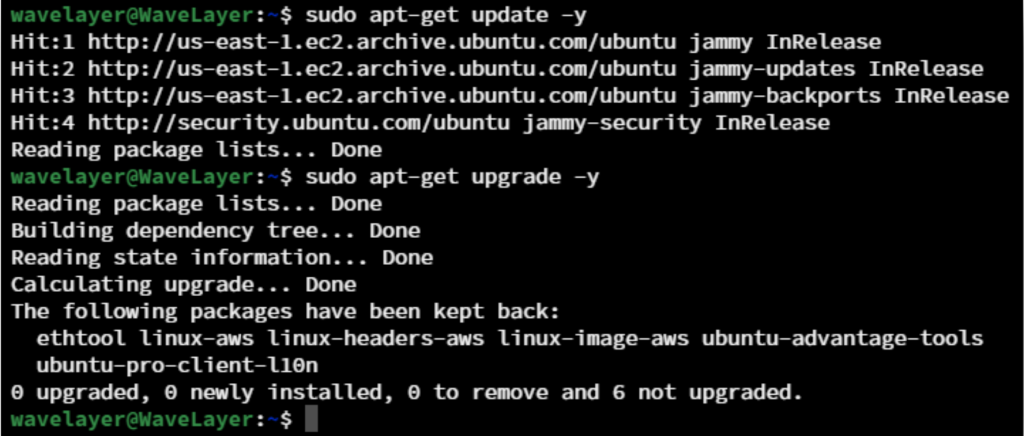
sudo apt-get update -y
sudo apt-get upgrade -y
STEP 2: Installing Algo & Its Dependencies
Installing core dependencies:
sudo apt-get install git apparmor build-essential python3-dev python3-pip python3-setuptools python3-virtualenv libffi-dev libssl-dev -y

Cloning algo repo to install & configure:
sudo git clone https://github.com/trailofbits/algo.git

Changing directory:
cd algo
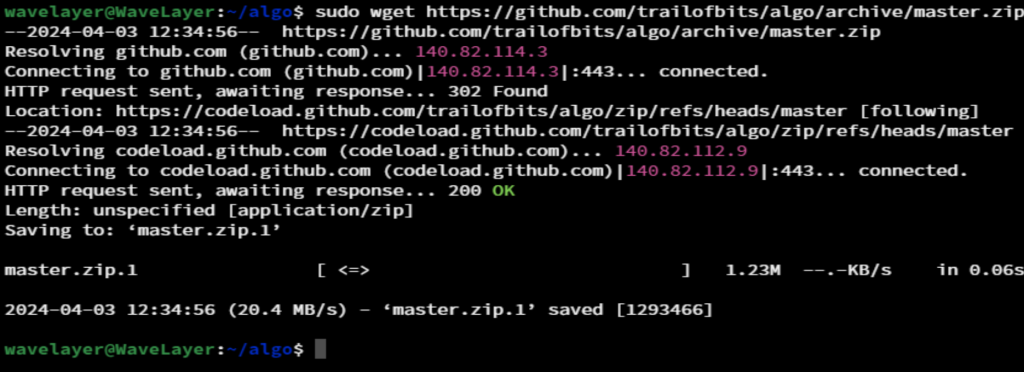
Downloading mater.zip file, this will contain a Aglo scripts:
wget https://github.com/trailofbits/algo/archive/master.zip
Verify the installation:
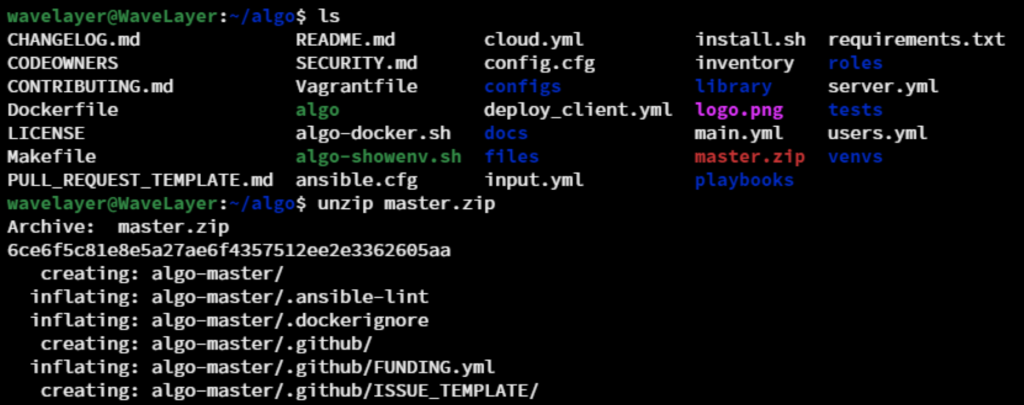
ls
Unzip the master.zip file:
unzip master.zip
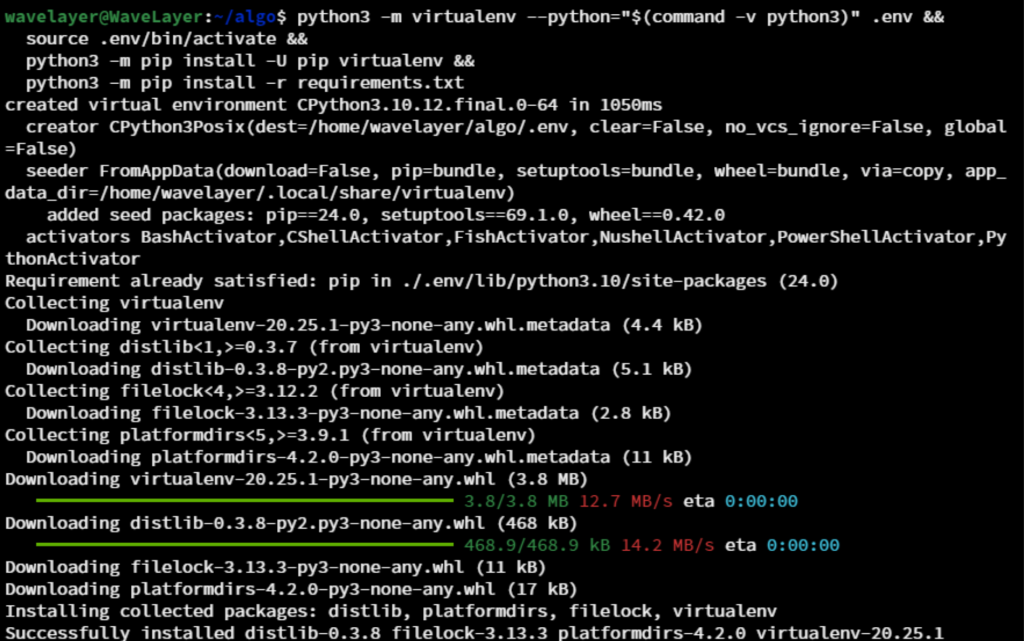
Installing remaining Dependencies:
					python3 -m virtualenv --python="$(command -v python3)" .env &&
source  .env/bin/activate &&
python3 -m pip install -U pip virtualenv &&
python3 -m pip install -r requirements.txt
STEP 3: Configurations
Open the config.cfg file with any text editor. E.g. Specify the users, you wish to create in users parameter.
Create a unique user for each device, that you planned to connect your VPN.

You can also set unattended_reboot: as true for to improve the security of the server.

STEP 4: Deployment
Run the script named algo:
./algo
Algo VPN is set of Ansible scripts, and it’s was designed by Trail of Bits to simplify the Wireguard VPN installation. It also makes easier for to spin WireGuard and IPsec VPN in on-premise or int the cloud.

Note: Enter 12 to install on localhost, you can also setup your Algo VPN of any cloud environment. You can also see a lots of option, that you have to choose based on your needs. You also have to provide the private and public IP of the machine. You can find your private and public IP by:
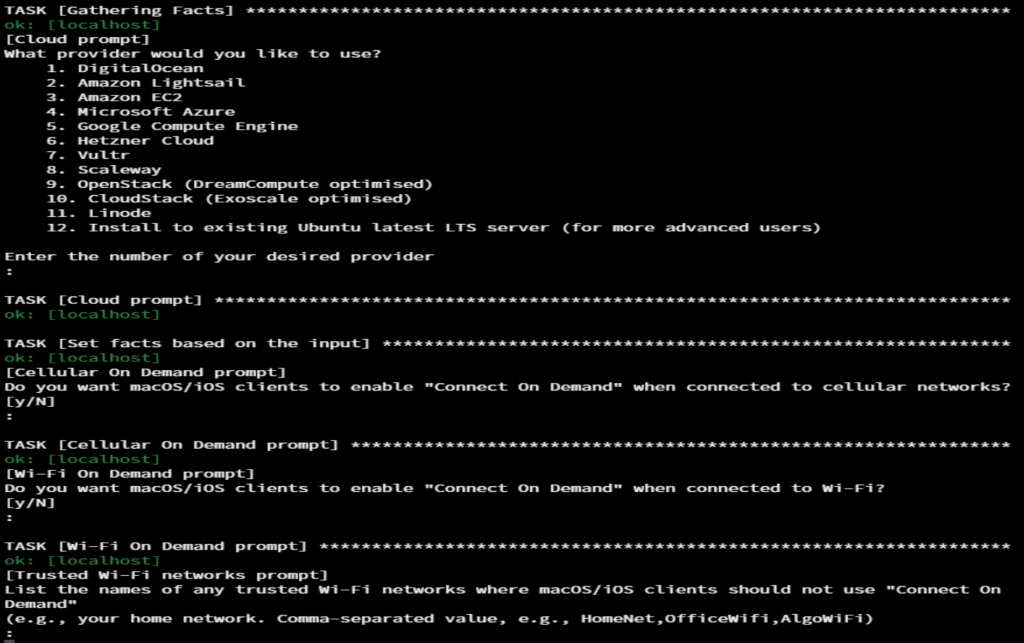
To view your private IP:
ip a
To view your public IP:
curl ifconfig.me

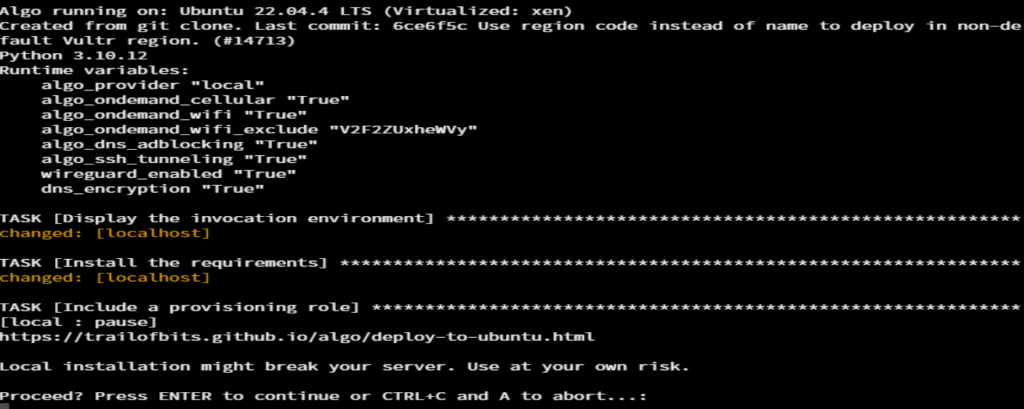
Press on Enter to setup Aglo VPN server on localhost i.e. Your Ubuntu server.
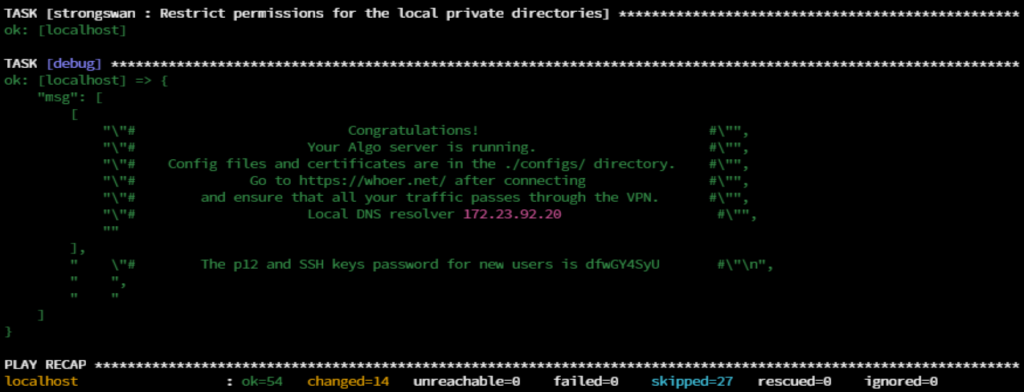
That’s it! You will get the message like above after the deployment process is completed on server.
After complete installation, you can find the configuration file of each VPN profile by following command:
ls configs/localhost/wireguard/

To view the configuration file:
cat configs/loclahost/wireguard/wavelayer.conf

STEP 5: Add and Remove Users
You can open the config.cfg file and add or remove the user from the users parameter.
E.g. Adding new user named newuser.

Activating virtual environment:
source .env/bin/activate
Updating user configuration after adding newuser:
./algo update-users
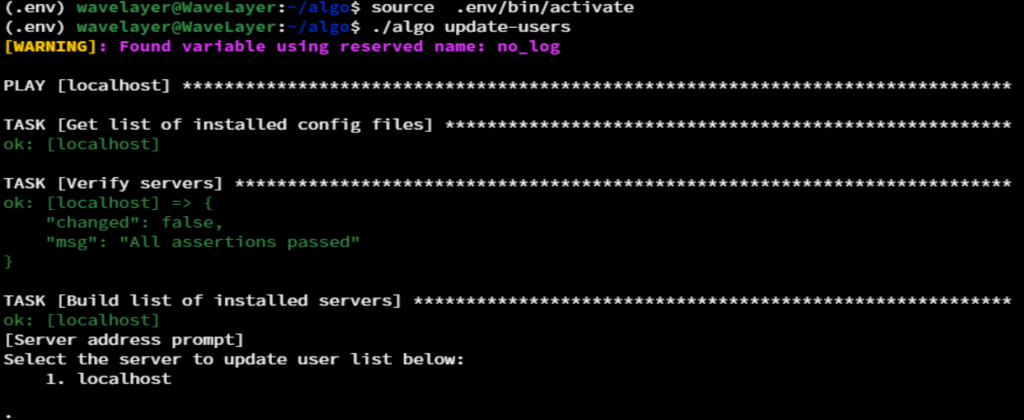
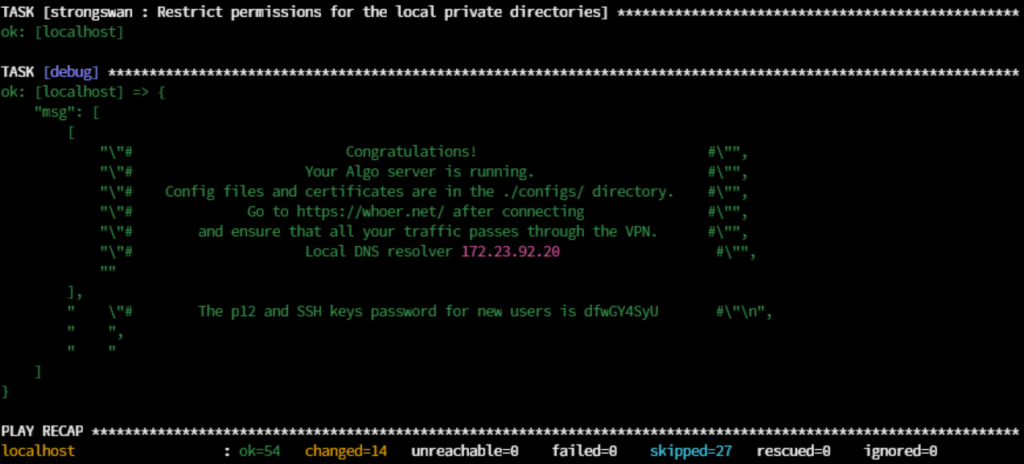
Note: After user configuration update is complete, you can see the above output.
You can verify it by:
ls configs/localhost/wireguard/

To view the conf file of newuser:
cat configs/localhost/wireguard/newuser.conf
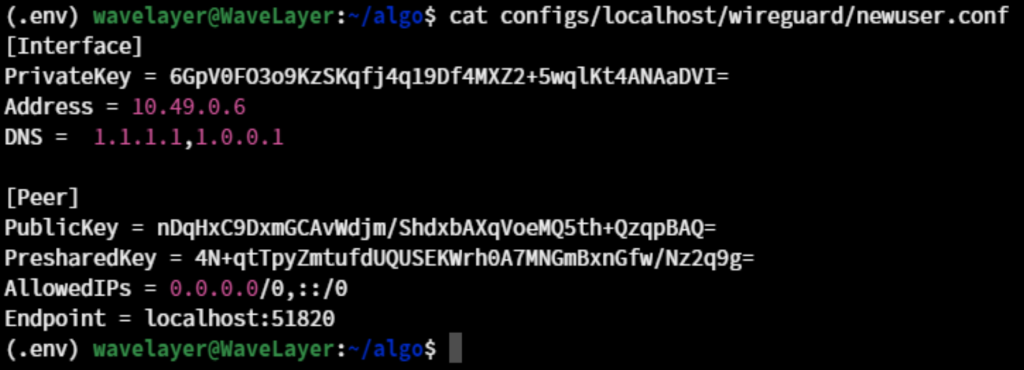
That’s all, you completed the installation of Algo VPN on your server.
STEP 6: Integration Bitcoin
To further enhance anonymity in your VPN setup, integrating Bitcoin adds another level of secrecy. Here’s how to easily Bitcoin to your anonymous VPN setup:
- More Privacy: If you use Bitcoin to pay your VPN, it keeps your all the personal information including payment details as private. Bitcoin doesn’t need personal info, so you can stay anonymous.
- No Middlemen: The transactions of Bitcoin happen directly between the users. Bitcoin doesn’t require any banks or payment companies.
- Stay Anonymous: When you pay for your VPN with Bitcoin, your payment information remains anonymous. Nobody can trace your payment information, ensuring your online activities remain private.
Conclusion
In conclusion, setting up an anonymous VPN using Algo and Bitcoin is a proactive step towards safeguarding your online privacy in today’s digital world. By utilizing the open-source VPN technology and cryptocurrency, you can establish a secure and private connection to the internet. You can simply follow the steps provided to enjoy the benefits of anonymity and regain control over your internet privacy.


